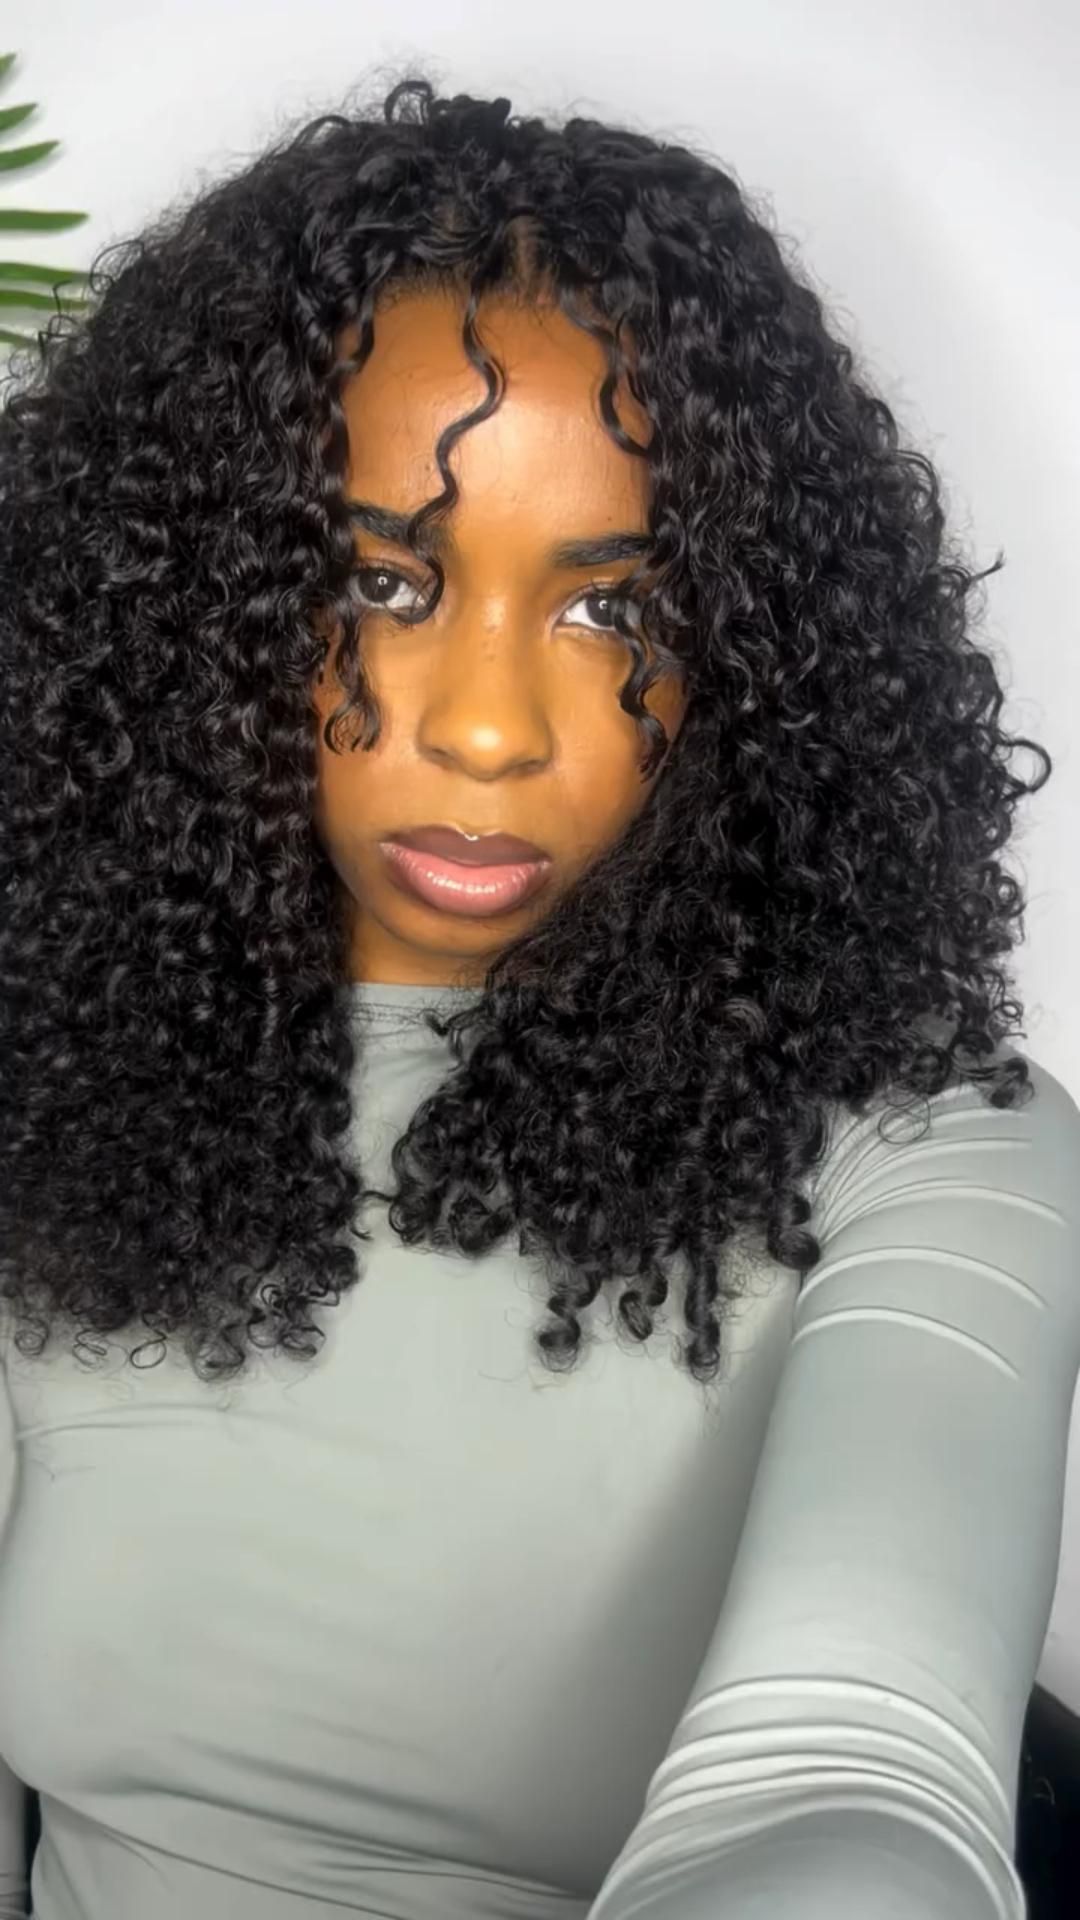
You will crochet a set of long, tapered hair strands that look and move like natural hair, then attach them to cornrows or a wig cap. It uses only chain and single crochet, so a confident beginner can finish one strand in about 10 minutes and a full head in roughly 4 hours.
Crochet Hair Extension Strands (Human-Hair Look Crochet Braids)
Free crochet pattern · US terms
- Yarn
- 5 – Bulky (chunky) — suggested
- Hook
- 5.0 mm (H-8) — verify with a swatch
- Gauge
- 12 sts x 14 rows = 4 in (10 cm) in single crochet, unblocked. Gauge mainly controls strand thickness, not fit, so close is fine. (calculated, not measured)
- Size
- approx. Each strand about 20 in (51 cm) long and 0.4 in (1 cm) wide; a full set of 60 strands covers an average head when installed in rows
- Level
- Confident beginner
- Time
- about 4 h (estimate)
Written and count-checked on paper, not yet physically tested. Make the gauge swatch and the checkpoint below before you commit all your yarn.
This pattern makes individual crochet hair strands, also called crochet braids or faux locs, that you install over braided natural hair or a wig cap. Each strand is a long tapered chain-and-single-crochet cord with a small loop at the top for attaching and a fine tip at the bottom so the ends look natural.
You work each strand flat in rows, then join the strands in a single row across a foundation chain to build a weft-style strip if you prefer a sew-in. The look suits anyone who wants a protective style, a wig upgrade, or a low-commitment color change without a salon visit.
Before You Start
Materials
Suggested materials. Any yarn of the same weight works if you match the gauge.
2 skeins bulky acrylic yarn, 100 g each
Acrylic keeps its shape and holds a light curl better than cotton for hair strands. A soft bulky acrylic or a bulky acrylic blend both work; avoid scratchy wool near the scalp.
5.0 mm (H-8) hook
Matches bulky yarn for a firm, snag-resistant strand. If your yarn is thinner, drop to 4.5 mm (7) so the strand does not look stringy.
Wig cap or 2 packs of braiding hair for cornrows
The base you attach the strands to. A mesh wig cap works for a quick removable look; cornrows give a flatter, longer-wear install.
Tapestry needle, blunt tip
For weaving in the two yarn tails on each strand. A blunt tip will not split the bulky plies.
Wide-tooth comb and hair clips
Helps separate strands and hold sections while you attach them. Any claw clip or bobby pin works as a substitute.
Yarn needed (estimate): estimated about 200 yd (185 m) for 60 strands, roughly 2 skeins of 100 g
Gauge and Size
Gauge: 12 sts x 14 rows = 4 in (10 cm) in single crochet, unblocked. Gauge mainly controls strand thickness, not fit, so close is fine.. This gauge is calculated from the yarn and hook above, not measured on a finished sample. Make a 4 in (10 cm) swatch first; change the hook size, not your tension, until it matches.
Finished size (approximate): Each strand about 20 in (51 cm) long and 0.4 in (1 cm) wide; a full set of 60 strands covers an average head when installed in rows. Your size depends on your gauge.
Abbreviations (US terms)
| Abbr. | Meaning |
|---|---|
| ch | chain |
| sc | single crochet |
| sc2tog | single crochet 2 stitches together (a decrease) |
| sl st | slip stitch |
| st/sts | stitch/stitches |
| FO | fasten off |
Special Stitches
sc2tog (single crochet 2 together)
Insert the hook into the next stitch, yarn over and pull up a loop, insert the hook into the following stitch, yarn over and pull up a loop, then yarn over and pull through all 3 loops on the hook. This turns 2 stitches into 1.
Loop start (for attaching)
Leave a 6 in (15 cm) tail at the beginning, then chain 4 and join with a sl st to the first chain to make a small ring. This ring is the attachment loop you will thread through the cornrow or wig cap.
How This Pattern Is Written
- All instructions use US crochet terms.
- Each strand is worked flat in rows, turning at the end of every row. The turning chain does not count as a stitch here, so always work into the first stitch of the row.
- Right side: the smoother side with the V-shaped stitches faces out. Keep the same side facing you when you attach the strand so the texture stays even.
- Strand count is a suggestion. Measure your own part lines and add or remove strands in multiples of 4 to fill the rows evenly.
- The attachment loop is a closed ring. Check it is snug before you weave in the tail so it cannot slip off the braid.
- This is a hair accessory, not a toy. Keep strands away from open flames and hot tools, and do not sleep in a tight install for more than a few nights.
The Pattern
Single Hair Strand (make 60, or as many as you need)
Optional Joined Weft Strip (for a sew-in instead of single strands)
Finishing and Assembly
Sizes and Variations
Shorter bob
work Rows 3-22 only, then shape with Rows 39-43. Each strand finishes about 12 in (30 cm) long.
Thicker chunky locs
work 14 sc in Row 1 and repeat Row 2 for 30 rows. Strands are about 0.6 in (1.5 cm) wide and use more yarn per strand.
Two-tone color
work Rows 1-20 in color A, then change to color B for Rows 21-38. Carry the unused color up the side edge instead of cutting it.
Troubleshooting
| What you see | Likely cause | Fix |
|---|---|---|
| The strand twists and curls back on itself. | Your stitches are too tight, which pulls the fabric into a spiral. | Go up one hook size or relax your tension, and gently steam the finished strand to relax the twist. |
| The pointed tip keeps unraveling. | The final tail was woven in too loosely or cut too short. | Thread the tip tail back through the last 4 stitches with a tapestry needle, then weave it down the side for 1 in (2.5 cm) before trimming. |
| Strands slide off the cornrow when you tug them. | The top loop is too large for the braid, or the loop was not tightened after threading. | Pull the loop smaller with a sl st, or thread the loop through the braid twice before pulling the strand through. |
| The finished install looks thin and shows the braids. | Too few strands or spacing wider than 0.5 in (1.3 cm). | Add a second pass of strands between the first ones, or work the thicker-loc variation so each strand covers more of the braid. |
| The strands feel scratchy against the scalp. | A rough wool or heavily textured yarn was used. | Switch to soft bulky acrylic or an acrylic blend, and keep the first row of strands slightly away from the part line. |
Care
Remove the strands before washing your hair if possible. Hand wash strands in cool water with a drop of mild shampoo, squeeze gently without wringing, and lay flat to air dry away from direct heat. Do not put acrylic strands in a hot dryer, because heat can melt and permanently crimp the fiber.
Questions Makers Ask
How long do crochet hair strands last?
With gentle care, an install usually lasts two to four weeks before the loops loosen or the strands frizz. Take the style down sooner if you feel tension at the roots.
Next: Try a crochet wig cap or a simple beanie next to practice working in the round and shaping a fitted crown.