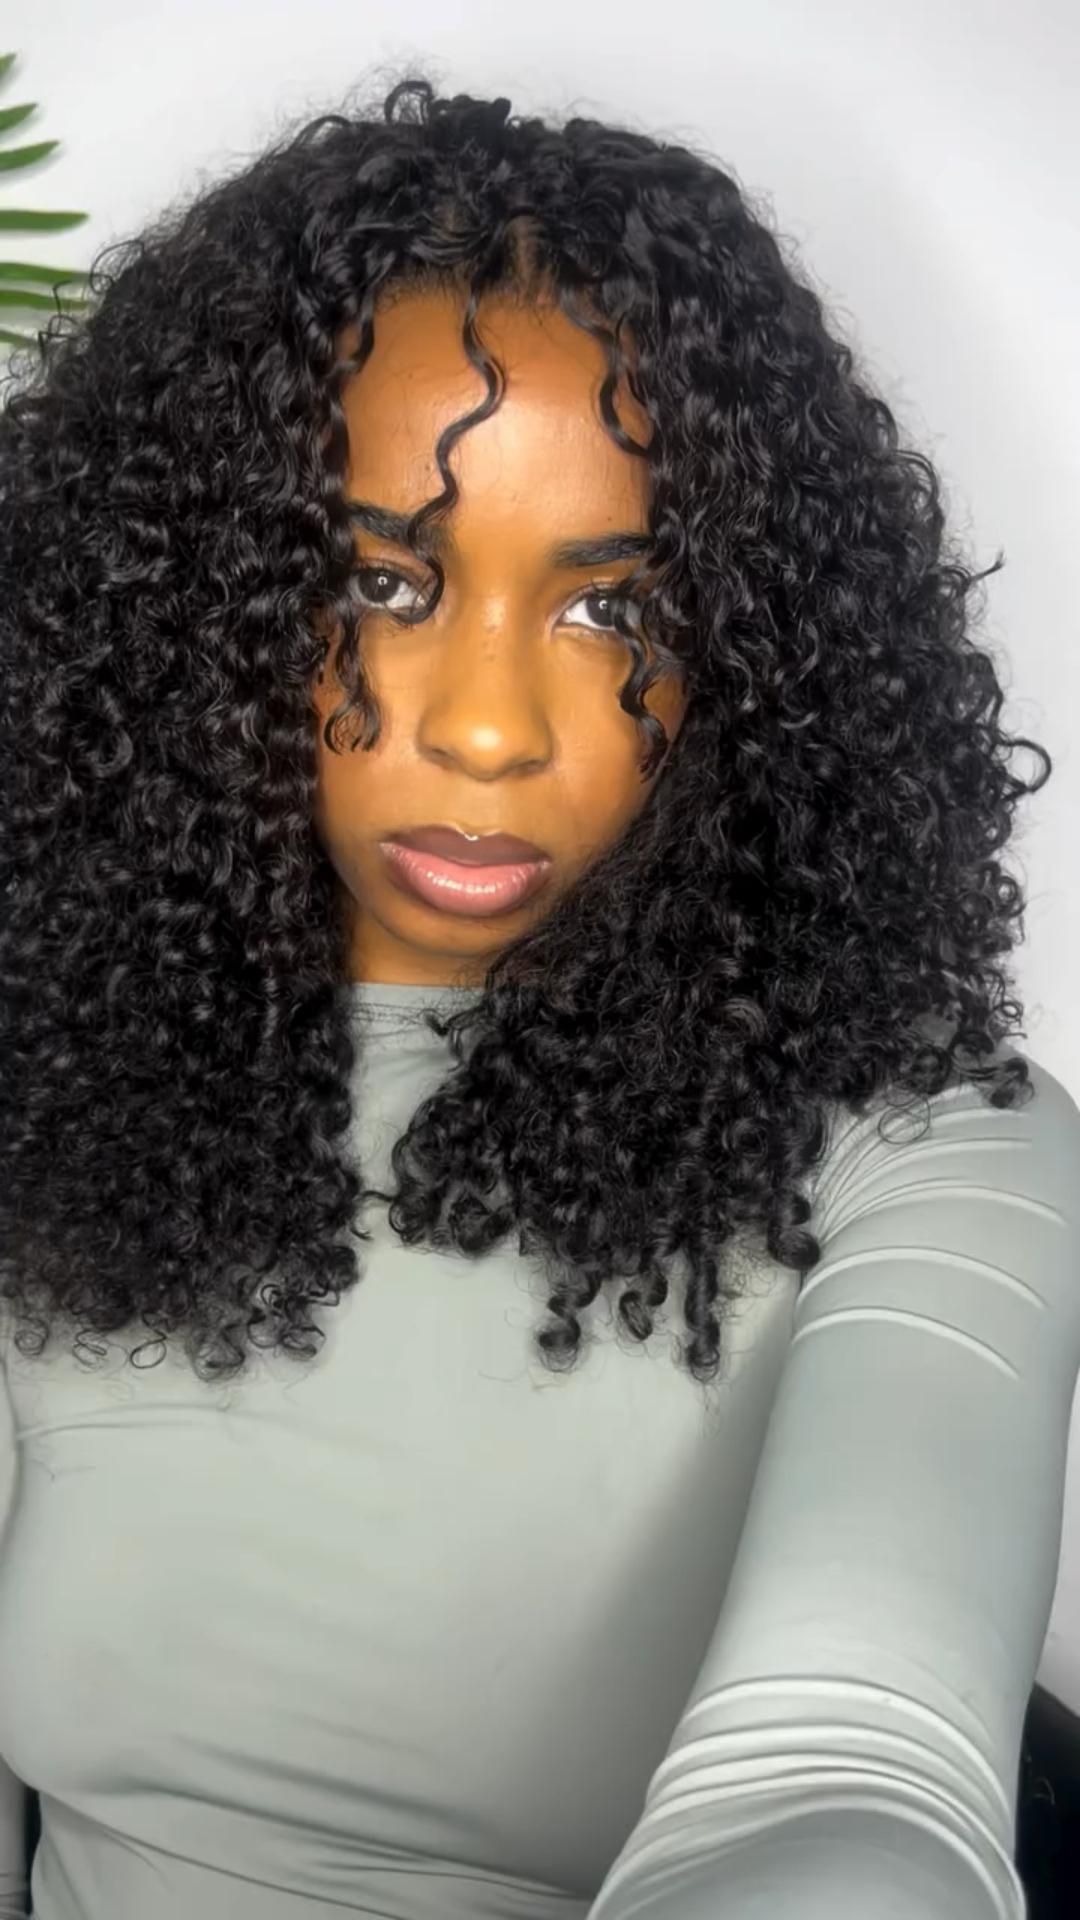
You will crochet a set of long, tapered hair strands that look and move like human hair and can be clipped or braided into your own hair. It uses only chain, slip stitch and single crochet, so a confident beginner can finish a full set in about four hours.
Crochet Hair Extension Strands (Human-Hair-Look Crochet Braids)
Free crochet pattern · US terms
- Yarn
- 2 – Fine (sport) — suggested
- Hook
- 2.75 mm (C-2) — verify with a swatch
- Gauge
- 22 sc x 24 rounds = 4 in (10 cm) in single crochet worked in the round, unblocked; one full strand measures about 20 in (51 cm) long (calculated, not measured)
- Size
- approx. Each strand about 1 in (2.5 cm) wide at the top tapering to a point, and 20 in (51 cm) long; a set of 12 strands covers a section of hair about 6 in (15 cm) wide
- Level
- Confident beginner
- Time
- about 4 h (estimate)
Written and count-checked on paper, not yet physically tested. Make the gauge swatch and the checkpoint below before you commit all your yarn.
This pattern makes a reusable set of crocheted hair strands: long tapered pieces worked in the round from a small ring, then gathered into a bundle that matches your own hair color and length. Each strand is soft, lightweight and can be washed, restyled and pinned in place with bobby pins or a small comb clip.
The pieces are made with a fine, smooth yarn held at a loose tension so the fabric drapes instead of looking stiff. It suits crocheters who want a protective or costume hair accent, cosplay styling, or a low-cost alternative to buying pre-made extension hair.
Before You Start
Materials
Suggested materials. Any yarn of the same weight works if you match the gauge.
2 to 3 skeins of fine (sport weight) acrylic or acrylic-blend yarn in a shade close to your hair color, about 250 yd (230 m) total
Acrylic holds its shape and washes well, which matters for hair pieces. A soft acrylic-cotton blend is a good substitute if you want a more matte, less shiny finish.
2.75 mm (C-2) crochet hook
A small hook keeps the strand narrow so it reads as a single lock of hair. Use 3.0 mm (D-3) if you want a slightly thicker, faster strand.
Small comb clips or bobby pins, 12 to 24 pieces
These hold the finished strands in your own hair. Flat snap clips hide better than round bobby pins under a part.
Tapestry needle
Used to weave in the starting tail and to sew the top of each strand into a flat tab. A blunt-tip needle will not split the yarn.
Small rubber bands or hair elastics, 12 pieces
These gather each strand at the top so it can be pinned or braided in. Clear or color-matched elastics are least visible.
Yarn needed (estimate): about 250 yd (230 m) total for a set of 12 strands, roughly 2 to 3 skeins of 50 g
Gauge and Size
Gauge: 22 sc x 24 rounds = 4 in (10 cm) in single crochet worked in the round, unblocked; one full strand measures about 20 in (51 cm) long. This gauge is calculated from the yarn and hook above, not measured on a finished sample. Make a 4 in (10 cm) swatch first; change the hook size, not your tension, until it matches.
Finished size (approximate): Each strand about 1 in (2.5 cm) wide at the top tapering to a point, and 20 in (51 cm) long; a set of 12 strands covers a section of hair about 6 in (15 cm) wide. Your size depends on your gauge.
Abbreviations (US terms)
| Abbr. | Meaning |
|---|---|
| ch | chain |
| sl st | slip stitch |
| sc | single crochet |
| inc | increase: work 2 sc in the same stitch |
| dec | decrease: single crochet 2 stitches together |
| st/sts | stitch/stitches |
| MR | magic ring |
| FO | fasten off |
Special Stitches
Single crochet 2 together (dec)
Insert the hook in the next stitch, yarn over and pull up a loop. Insert the hook in the following stitch, yarn over and pull up a loop. Yarn over and pull through all 3 loops on the hook. One stitch is removed.
Magic ring (MR)
Wrap the yarn twice around two fingers, insert the hook under both loops, pull up a loop, chain 1 to lock, then work the first round of stitches into the ring. Pull the short tail to close the center hole.
How This Pattern Is Written
- All instructions use US crochet terms.
- Each strand is worked in continuous rounds. Do not join and do not turn; place a stitch marker in the first stitch of each round and move it up as you go.
- The turning chain does not apply here because the piece is worked in the round; the chain at the start of Round 1 is a locking chain, not a stitch.
- Right side: the smooth outer face of the fabric faces out. Keep the starting tail on the inside of the tube.
- Work at a relaxed tension. If the fabric feels stiff, go up one hook size; stiff strands will not drape like hair.
- Make one test strand first and measure it. Length depends on your yarn and tension, so adjust the number of rounds to hit your target length.
- No part of this pattern has been tested by a third party; the stitch counts above were recalculated from the written operations.
The Pattern
Hair Strand (make 12)
Top Tab and Gathering (each strand)
Finishing and Assembly
Sizes and Variations
Longer strands
add 10 rounds to the Rounds 15-40 block for each extra 7 in (18 cm) of length, and expect to use about 20 yd (18 m) more yarn per strand.
Thicker strands
use 3.5 mm (E-4) hook and medium (worsted) yarn. Round 1 stays at 6 sc, but Round 2 becomes 12 sc and Round 3 becomes 18 sc, giving a strand about 1.5 in (4 cm) wide.
Curly accent strand
work Rounds 15-40 as *ch 3, sl st in the next st; rep from * around. The stitch count stays at 8 sc per round and the strand comes out with a spiral curl.
Highlight set
make 9 strands in your base color and 3 in a shade one or two steps lighter, then layer the lighter strands on top when you clip them in.
Troubleshooting
| What you see | Likely cause | Fix |
|---|---|---|
| The strand looks stiff and stands straight out instead of falling. | The yarn is too thick for the hook or your tension is tight. | Go up one hook size and work the next strand more loosely, letting the yarn feed without pulling it snug after each stitch. |
| The center of the top has a visible hole. | The magic ring was not pulled closed before Round 2 was finished. | Pull the short tail firmly right after Round 1, then hold it against the inside of the tube while you work Round 2 so the hole stays shut. |
| The strand gets narrower or wider than the test strand. | A missed or added increase in Rounds 2 and 3. | Count the stitches at the end of each round against the count in brackets. Rip back to the last correct round rather than adjusting later. |
| The finished strands slide out of the clip during the day. | The flat tab is too narrow for the clip to grip. | Sew two strands together at the tab to double the thickness, or wrap the elastic three times instead of two. |
| The tips unravel after trimming. | The final tail was cut too short to hold the last loop. | Re-thread the tail, run it through the last 4 stitches, and weave it back up into the tube for about 1 in (2.5 cm) before trimming. |
Care
Hand wash the strands in cool water with a drop of mild soap, squeeze gently without wringing, and lay them flat on a towel to air dry away from direct heat. Do not put them in a washing machine or dryer and do not brush them while wet; smooth them with your fingers once dry and store them flat.
Questions Makers Ask
How do I attach the strands to my hair?
Clip or pin the gathered tab bundle under a section of your own hair near the part, then let your hair fall over the tabs to hide them. Braid or twist your own hair over the tabs if you want a more secure hold.
Next: Once the strand set is comfortable, try a crochet headband or a simple beanie to practice working evenly in the round on a larger piece.