Nestora
Crochet Halter Top Free Pattern: Easy Triangle Cups
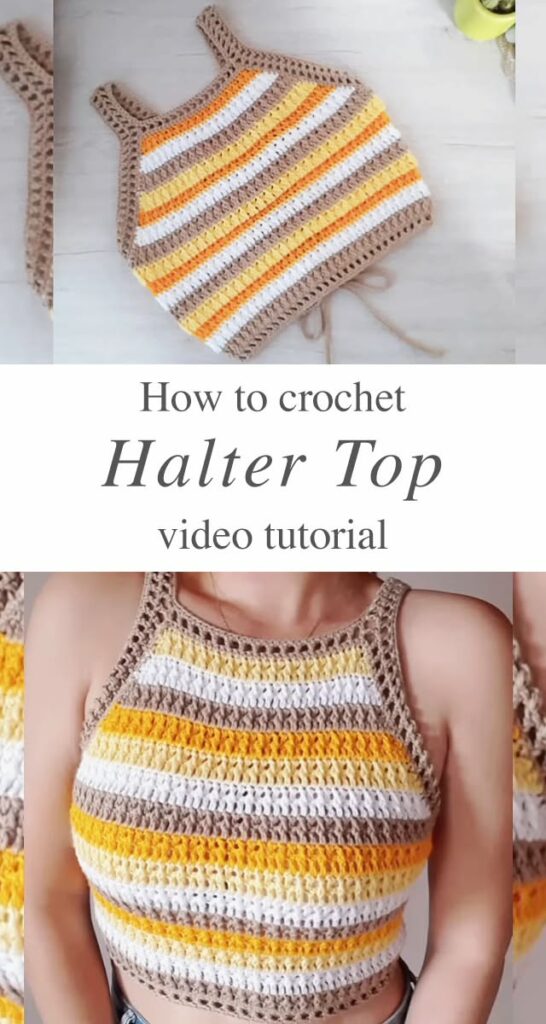
You will crochet a halter top built from two triangle cups joined by a band, with neck and back ties. It needs single and double crochet plus simple increases, and most crocheters finish in an afternoon or two (estimated 4 to 5 hours).
Tied Halter Top with Triangle Cups
Free crochet pattern · US terms
- Yarn
- 3 - Light (DK) — suggested
- Hook
- 4.0 mm (G-6) — verify with a swatch
- Gauge
- 14 sts x 8 rows = 4 in (10 cm) in double crochet, unblocked (calculated, not measured)
- Size
- approx. Cup about 6 in (15 cm) wide at the top edge and 6.5 in (16.5 cm) tall; band about 28 in (71 cm) before ties. Fits an approximate A to B cup; see variations for larger cups.
- Level
- Confident beginner
- Time
- about 4 h 30 min (estimate)
Written and count-checked on paper, not yet physically tested. Make the gauge swatch and the checkpoint below before you commit all your yarn.
The top is made of two identical triangle cups worked flat from the bottom point upward, then joined across the underbust with a short band. Long chains form the neck ties and the back ties, so the fit adjusts by tying rather than by fastening.
It suits a confident beginner who can keep track of stitch counts and work into chain spaces. The open, lacy fabric makes it a warm-weather piece, and the same instructions scale easily to a larger cup size.
Before You Start
Materials
Suggested materials. Any yarn of the same weight works if you match the gauge.
2 x 50 g skeins of DK cotton, about 150 yd (137 m) each
Cotton holds the cup shape and stays cool in warm weather. A cotton-blend DK works too, but pure acrylic can stretch with wear.
4.0 mm (G-6) crochet hook
Matches DK weight for a firm, opaque fabric. Go up to 4.5 mm (7) if your swatch comes out tight.
Stitch marker
Marks the first stitch of each cup row so you never lose the edge. A scrap of contrasting yarn works.
Tapestry needle
Needed for weaving in the tie ends securely. Blunt tip so it does not split the yarn.
Tape measure
Used for the gauge swatch and for checking cup width. Any soft tape is fine.
Yarn needed (estimate): about 300 yd (275 m) / 2 skeins of 50 g cotton
Gauge and Size
Gauge: 14 sts x 8 rows = 4 in (10 cm) in double crochet, unblocked. This gauge is calculated from the yarn and hook above, not measured on a finished sample. Make a 4 in (10 cm) swatch first; change the hook size, not your tension, until it matches.
Finished size (approximate): Cup about 6 in (15 cm) wide at the top edge and 6.5 in (16.5 cm) tall; band about 28 in (71 cm) before ties. Fits an approximate A to B cup; see variations for larger cups.. Your size depends on your gauge.
Abbreviations (US terms)
| Abbr. | Meaning |
|---|---|
| ch | chain |
| sl st | slip stitch |
| sc | single crochet |
| dc | double crochet |
| st | stitch |
| sts | stitches |
| sp | space |
| inc | increase (2 dc in the same stitch) |
| rep | repeat |
| FO | fasten off |
Special Stitches
Double crochet increase (inc)
Work 2 dc into the same stitch. This adds one stitch and widens the cup edge.
Chain-2 corner space (ch-2 sp)
A space formed by 2 chains between stitches. On the next row you work into the space itself, not into the chains.
How This Pattern Is Written
- All instructions use US crochet terms.
- Each cup is worked flat in rows, turning at the end of every row. The right side is the side facing you on odd-numbered rows.
- The turning chain of 2 at the start of a dc row does not count as a stitch. Work the first dc of the row into the first stitch.
- Both cups are identical. The second cup is joined to the first with a short band across the underbust, then the ties are added.
- Ties are long chains worked directly onto the cup edges, so no sewing of straps is needed.
- The underbust band uses 'sc evenly' along the cup edge, so its total stitch count cannot be calculated from the written operations; the tester must count Row 1 and carry that number into Row 2.
- Nothing in this pattern has been tested or measured; all stitch counts above are derived from the written operations only.
The Pattern
Cup 1 (make 2)
Cup 2
Underbust Band and Ties
Finishing and Assembly
Sizes and Variations
Larger cup
Continue the increase pattern in Rows 17-20, adding 1 dc per row to reach 23 dc. The band and ties stay the same length.
Longer band
Work extra rows of sc on the band before adding the back ties, adding 24 sc per row.
Solid fabric
Work the cups in sc instead of dc. Gauge changes to about 16 sc x 18 rows per 4 in (10 cm), so add roughly 6 more rows to reach the same height.
Two-color top
Change color after Row 8 of each cup. Carry the old color up the side edge loosely so it does not pull.
Troubleshooting
| What you see | Likely cause | Fix |
|---|---|---|
| The cup edges look stepped or wavy | The turning chain is being counted as a stitch, or the first dc is worked into the chain instead of the first stitch. | Ch 2, then work the first dc into the very first stitch below. Do not work into the turning chain at the end of the row. |
| The two cups are different sizes | Stitch count drifted on one cup, often at the increase edge. | Recount each row against the count in brackets. Rip back to the last correct row and rework. |
| The top gaps at the side of the cup | The fabric is too loose, or the neck ties are too long for the wearer. | Swatch again with a smaller hook, or tie the neck ties tighter and add a short sc edging along the cup top edge. |
| The band pulls the cups out of shape | The band was worked too tightly along the bottom edge. | Work the band sc evenly with a relaxed tension, or add 2 extra sc at each cup corner on Row 1 of the band. |
| The ties stretch out of shape | Chain ties worked too loosely, or a slippery yarn. | Work the slip stitch return row firmly, and use a cotton or cotton blend rather than a smooth acrylic. |
Care
Hand wash in cool water with mild soap and lay flat to dry, reshaping the cups while damp. Do not tumble dry. Store folded rather than hanging so the ties keep their length.
Questions Makers Ask
Can I make this halter top in a larger size?
Yes. Add increase rows to each cup following the same pattern, then lengthen the band with extra sc rows. Recount the band stitches so both cups stay even.
How much yarn does a crochet halter top need?
This size uses about 300 yd (275 m) of DK cotton, estimated from the stitch count. Larger cups can need 100 yd (90 m) or more extra, so buy an additional skein.
Do I need to line the top?
Not necessarily. The dc fabric is fairly dense at this gauge. If you want more coverage, work the cups in sc or wear the top over a bandeau.
Can I wear this in water?
Cotton halter tops can be worn over swimwear, but this pattern is not designed as swimwear and the ties may stretch when wet. Rinse in cool water and dry flat after use.
Next: Try a crochet crop top with shaped armholes next, which builds on the same increase and band skills.