WordPress Blog
Ribbed Ear Warmer Crochet Pattern: Free and Beginner-Friendly
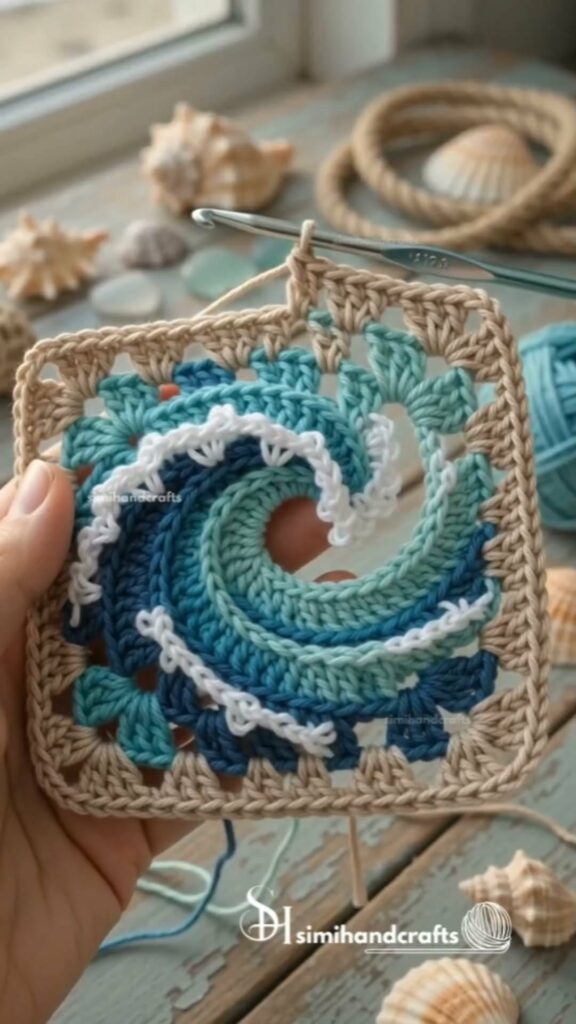
This pattern makes a stretchy ribbed ear warmer worked flat in single crochet back loop only, then seamed into a band. It needs only single crochet and slip stitch, so a confident beginner can finish it in about two hours.
Easy Ribbed Ear Warmer
Free crochet pattern · US terms
- Yarn
- 4 - Medium (worsted) — suggested
- Hook
- 5.0 mm (H-8) — verify with a swatch
- Gauge
- 14 sts x 16 rows = 4 in (10 cm) in back loop only single crochet, unblocked and gently stretched (calculated, not measured)
- Size
- approx. About 4 in (10 cm) tall and 19-21 in (48-53 cm) around unstretched, stretching to fit a 21-23 in (53-58 cm) head
- Level
- Confident beginner
- Time
- about 2 h (estimate)
Written and count-checked on paper, not yet physically tested. Make the gauge swatch and the checkpoint below before you commit all your yarn.
The finished piece is a flat knitted-look band about 4 in (10 cm) tall that stretches to fit around the head and joins at the back. The ribbing comes from working every stitch in the back loop only, which pulls the fabric into vertical ridges.
It suits anyone who can make a starting chain and single crochet. Because it is worked flat in short rows, you can measure the length against your head as you go instead of trusting a stitch count alone.
Before You Start
Materials
Suggested materials. Any yarn of the same weight works if you match the gauge.
1 skein worsted weight yarn, about 100 g
A smooth acrylic or acrylic-wool blend holds the ribbing shape and washes well. Substitute any CYC 4 yarn and check your gauge again, since cotton stretches less.
5.0 mm (H-8) crochet hook
Matches worsted weight for a firm, stretchy fabric. Go up to 5.5 mm (I-9) if your stitches feel tight.
Tapestry needle
Needed to seam the short ends and weave in tails. A blunt tip slides through crochet stitches without splitting them.
Stitch marker
Useful for holding the first stitch of each row while you work the back loops. A scrap of contrasting yarn works too.
Tape measure
You measure the band against your head length rather than counting rows, so a soft tape measure is the main tool.
Yarn needed (estimate): Estimated about 120 yd (110 m) / 1 skein of 100 g
Gauge and Size
Gauge: 14 sts x 16 rows = 4 in (10 cm) in back loop only single crochet, unblocked and gently stretched. This gauge is calculated from the yarn and hook above, not measured on a finished sample. Make a 4 in (10 cm) swatch first; change the hook size, not your tension, until it matches.
Finished size (approximate): About 4 in (10 cm) tall and 19-21 in (48-53 cm) around unstretched, stretching to fit a 21-23 in (53-58 cm) head. Your size depends on your gauge.
Abbreviations (US terms)
| Abbr. | Meaning |
|---|---|
| ch | chain |
| sc | single crochet |
| BLO | back loop only |
| sl st | slip stitch |
| st | stitch |
| sts | stitches |
| rep | repeat |
| FO | fasten off |
Special Stitches
Back loop only single crochet (sc in BLO)
Insert the hook under the back loop of the V on top of the stitch, leaving the front loop unworked. Yarn over, pull up a loop, yarn over, pull through both loops. The unworked front loops form the ridge that makes the ribbing.
How This Pattern Is Written
- All instructions use US crochet terms.
- The ear warmer is worked flat in rows, side to side, so the ribbing runs vertically once the band is seamed.
- The turning chain at the start of each row does not count as a stitch. Work the first sc of every row into the first stitch.
- Right side faces you as you work. The seam goes at the back of the head.
- Sizes are given for Toddler, Child and Adult. Counts for the other sizes appear in the variations section.
- Gauge and finished size are calculated from the stated assumptions, not measured on a finished sample.
- Row 1 begins from the foundation chain, so its start count is not a stitch count carried from a previous row; the 20 sc come from working into 20 of the 21 starting chains.
- The 19 in (48 cm) band length is a target to check with a tape measure as you work, not a measured finished size.
The Pattern
Ear Warmer Band
Finishing and Assembly
Sizes and Variations
Toddler Size
Ch 17 and work 20 sc across for about 17 in (43 cm) of length. Height stays about 3.5 in (9 cm).
Child Size
Ch 19 and work 18 sc across for about 18 in (46 cm) of length. Height stays about 3.75 in (9.5 cm).
Wider Band
Ch 27 and work 26 sc across. Length stays the same, so the band covers more of the ears.
Two-Color Stripe
Change color every 8 rows by pulling the new color through on the last loop of the row. Carry the unused color loosely up the edge.
Troubleshooting
| What you see | Likely cause | Fix |
|---|---|---|
| The band curls into a tube and will not lie flat | Tension is tight and the starting chain is shorter than the rows above it | Work the starting chain with a hook one size larger, then switch back for Row 1. Blocking also relaxes the curl. |
| The ribbing looks flat with no ridges | The hook went under both loops instead of the back loop only | Look at the top of the stitch: two loops form a V. Insert the hook under the loop farthest from you only, leaving the near loop free. |
| The band is too short to fit over the head | Fewer rows were worked than the length needed, or the yarn has little stretch | Add rows in pairs until the relaxed length matches your head measurement minus 1 in (2.5 cm). Ribbing grows when worn. |
| One edge is wider than the other | The turning chain was counted as a stitch on some rows, adding an extra stitch | The ch 1 never counts. Work the first sc into the very first stitch below it, not into the chain. |
| The seam shows a lump at the back | The seam was sewn with tight, uneven stitches | Undo the seam and rejoin with a sl st through matching loops on both ends, keeping the tension the same as the band. |
Care
Machine wash cold on a gentle cycle and lay flat to dry to keep the ribbing shape. Do not tumble dry. Steam or spritz to block rather than pressing with a hot iron.
Questions Makers Ask
How much yarn does an ear warmer take?
About 120 yd (110 m) for an adult size, so one 100 g skein of worsted weight is enough. Toddler and child sizes use less, roughly 80-100 yd (73-91 m). This is an estimate based on the gauge and dimensions, not a measured figure.
Can I make this ear warmer without a seam?
Yes. Work the band in joined rounds instead, joining each round with a sl st and working in BLO. The ribbing will run horizontally rather than vertically, which changes the look but still stretches.
What hook size should I use if my head measures 22 in (56 cm)?
Start with the adult size and 5.0 mm (H-8). If your gauge is looser than 14 sts per 4 in (10 cm), drop to 4.5 mm (7) so the finished band does not grow too much when worn.
Is this pattern suitable for a first crochet project?
It works well as a second or third project. You need to recognize the back loop and keep edges straight, so practice a few rows of single crochet first.
Next: Try a matching ribbed cowl worked in the same back loop only single crochet, or move on to a simple beanie in joined rounds to practice shaping.