WordPress Blog
Twist Crochet Ear Warmer Headband Free Crochet Pattern
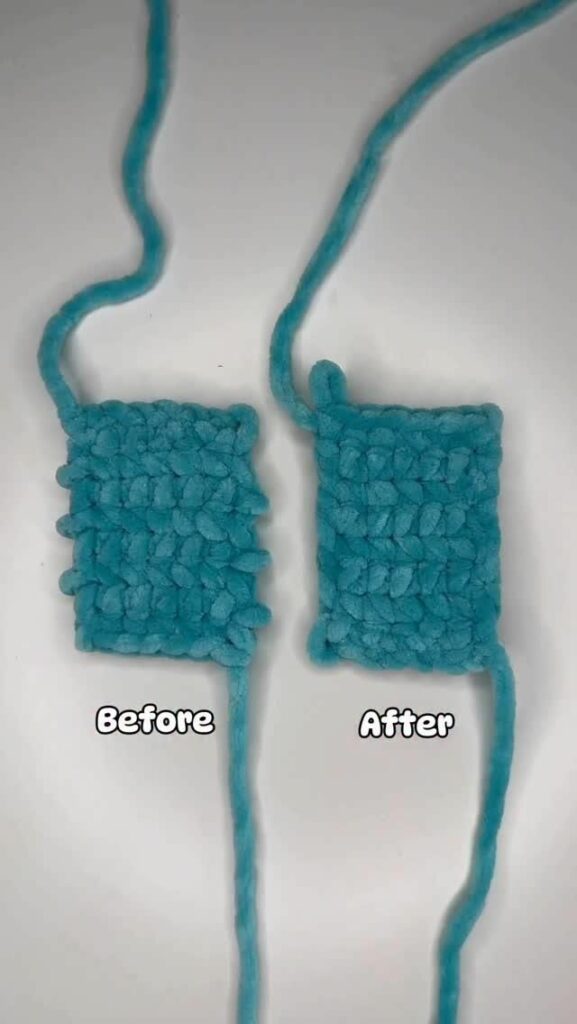
You make a flat rectangle in half double crochet, then overlap the two short ends to form a twisted band that covers your ears. It needs only chain, half double crochet and single crochet, and most beginners finish it in about three to four hours.
Beginner Crochet Ear Warmer Headband with Twist
Free crochet pattern · US terms
- Yarn
- 4 - Medium (worsted) — suggested
- Hook
- 5.5 mm (I-9) — verify with a swatch
- Gauge
- 12 hdc x 10 rows = 4 in (10 cm), unblocked (calculated, not measured)
- Size
- approx. about 20 in (51 cm) around and 4 in (10 cm) wide, unstretched, based on the stated gauge
- Level
- Confident beginner
- Time
- about 4 h (estimate)
Written and count-checked on paper, not yet physically tested. Make the gauge swatch and the checkpoint below before you commit all your yarn.
The finished piece is a wide fabric band that sits over your ears and crosses at the front or back. The twist comes from the join, not from any shaping, so the crochet itself stays simple.
You work flat in rows, then fold the short ends over each other and sew them together. A single crochet border neatens the long edges. It suits a confident beginner who can keep an even tension across a long row.
Before You Start
Materials
Suggested materials. Any yarn of the same weight works if you match the gauge.
1 skein worsted weight yarn, about 200 yd (183 m) per 100 g
A smooth acrylic or acrylic-wool blend shows the stitch pattern clearly and holds its shape. A soft bulky weight yarn also works if you size up the hook and reduce the row count.
5.5 mm (I-9) crochet hook
Matches worsted weight yarn for a firm, warm fabric. If your gauge is loose, drop to 5.0 mm (H-8).
Tapestry needle
Needed for the seam and for weaving in ends. A blunt tip slides between stitches without splitting the yarn.
Stitch marker
Useful for marking the first stitch of a row so you do not lose it. A scrap of contrasting yarn works too.
Tape measure
You check the band length against your head circumference before joining.
Yarn needed (estimate): about 130 yd (120 m), roughly one 100 g skein of worsted weight yarn
Gauge and Size
Gauge: 12 hdc x 10 rows = 4 in (10 cm), unblocked. This gauge is calculated from the yarn and hook above, not measured on a finished sample. Make a 4 in (10 cm) swatch first; change the hook size, not your tension, until it matches.
Finished size (approximate): about 20 in (51 cm) around and 4 in (10 cm) wide, unstretched, based on the stated gauge. Your size depends on your gauge.
Abbreviations (US terms)
| Abbr. | Meaning |
|---|---|
| ch | chain |
| hdc | half double crochet |
| sc | single crochet |
| st | stitch |
| sts | stitches |
| sl st | slip stitch |
| FO | fasten off |
How This Pattern Is Written
- All instructions use US crochet terms.
- The band is worked flat in rows, back and forth, turning at the end of every row.
- The turning chain of 2 does not count as a stitch. Work your first hdc of each row into the first stitch, not into the turning chain.
- Right side: choose one side as the right side and keep it facing you when you join the ends, so the twist sits the way you want.
- The twist is created only when you overlap the two short ends before seaming. Do not twist the fabric while you crochet.
- Gauge matters more here than in most beginner projects, because the row count sets the length around your head.
The Pattern
Band
Edging (optional)
Finishing and Assembly
Sizes and Variations
Child size
work Rows 3-36 instead of Rows 3-48, giving a band about 15 in (38 cm) around.
Wider band
ch 18 at the start for a band about 5.5 in (14 cm) wide, and keep the same row count.
Double twist
overlap the ends, twist the loop once more, then sew, for a narrower knot look.
Two color stripe
change color every 8 rows and carry the unused yarn up the side.
Troubleshooting
| What you see | Likely cause | Fix |
|---|---|---|
| The band is too long and slides off your head | Your gauge was looser than the stated gauge, so each row added more length. | Unpick the seam, remove a few rows from one end, then resew the overlap. Check your gauge on the next band. |
| The edges look wavy or ruffled | Extra stitches crept in at the row ends, often from working into the turning chain. | Count the stitches at the end of each row. The turning chain does not count, so the first hdc goes into the first stitch. |
| The seam is lumpy and visible from the front | The whipstitch went through the middle of the fabric instead of the edge stitches. | Work the needle under the two loops at the very edge of each piece, and keep the stitches evenly spaced. |
| The twist untwists when you put it on | The ends were overlapped flat instead of crossing over each other. | Open the seam and lay one end on top of the other so the band makes a figure that crosses at the join, then sew again. |
| The fabric feels stiff and does not stretch over your ears | The hook was too small for the yarn, making a dense fabric. | Go up one hook size and rework the band, or choose a softer yarn with more give. |
Care
Hand wash in cool water with a mild detergent and squeeze gently, do not wring. Lay flat to dry away from direct heat, and reshape the band while damp. Do not tumble dry, because heat can shrink acrylic and distort the twist.
Questions Makers Ask
How do I know how long to make the band?
Measure around your head just above the ears and subtract about 2 in (5 cm) for the overlap. Work rows until the flat piece matches that number, then add the overlap when you sew. The row count in the pattern suits an average adult head of about 22 in (56 cm).
Can I make this without the twist?
Yes. Overlap the ends flat without crossing them and sew straight across. The band still works and the seam sits at the back of your head.
Is this pattern suitable for a total beginner?
It is a good second or third project. You only need chain, half double crochet and single crochet, but the long rows mean you must keep an even tension and count carefully at the row ends.
How much yarn does one band use?
About 130 yd (120 m), which is roughly half of a standard 100 g worsted weight skein. This is an estimate based on the gauge and finished size, so buy one full skein to be safe.
Next: Try a matching crochet beanie in the round, which builds on half double crochet while teaching you joined rounds and crown shaping.