This article contains affiliate links — if you buy through them, we may earn a small commission at no extra cost to you.
Making a DIY fish keychain out of cardboard is one of those rare crafts that costs almost nothing, takes under half an hour, and still looks genuinely cute hanging from a backpack zipper. All you really need is a scrap of corrugated cardboard, a pair of scissors, some glue, and a little imagination. The twenty ideas below walk you through the exact fish keychain build plus nineteen close cousins: paper fish charms, felt versions, painted scales, glow-in-the-dark tails, and plenty of variations that use the same beginner-friendly technique. Whether you are a parent planning a rainy-afternoon activity, a teacher stocking a classroom craft bin, or an adult who just likes tiny handmade things, there is a version here for you.
Table of Contents(Click to Toggle)
- Why Cardboard Fish Keychains Are the Perfect Starter Craft
- 20 DIY Fish Keychain Ideas
- 1. Classic Cardboard Fish Keychain
- 2. Painted Scale Fish Charm
- 3. Corrugated Bubble Fish
- 4. Two-Tone Layered Fish
- 5. Glow-in-the-Dark Fish Keychain
- 6. Mini Aquarium Fish Set
- 7. Washi Tape Fish
- 8. Recycled Cereal Box Fish
- 9. Yarn-Wrapped Fish Charm
- 10. Sequined Sparkle Fish
- 11. Movable Tail Fish Keychain
- 12. Bubble-Print Fish
- 13. Fish Skeleton Cutout
- 14. Rainbow Gradient Fish
- 15. Tiny Pocket Fish
- 16. Fish With a Secret Message
- 17. Puffy Sticker Fish
- 18. Metallic Foil Fish
- 19. Fish Keychain Gift Tag
- 20. Upcycled Denim Fish
- Bonus Mentions
- The Best Little Fish in the Craft Sea
Why Cardboard Fish Keychains Are the Perfect Starter Craft
Most craft tutorials assume you own a glue gun, a cutting mat, and a drawer full of specialty supplies. A cardboard fish keychain asks for none of that. Corrugated cardboard is free, forgiving, and thick enough to hold a shape without reinforcement. A fish is also one of the friendliest shapes to draw freehand: an oval body, a triangle tail, one dot for an eye, and you are done.
That combination makes this a rare project that works for a six-year-old, a bored teenager, and an adult looking for a five-minute creative reset. The finished charm is light enough that it will not drag down a keyring, and sturdy enough to survive a school backpack for months. Below you will find the original build plus nineteen variations that swap materials, colors, and techniques while keeping the same easy core method.
20 DIY Fish Keychain Ideas
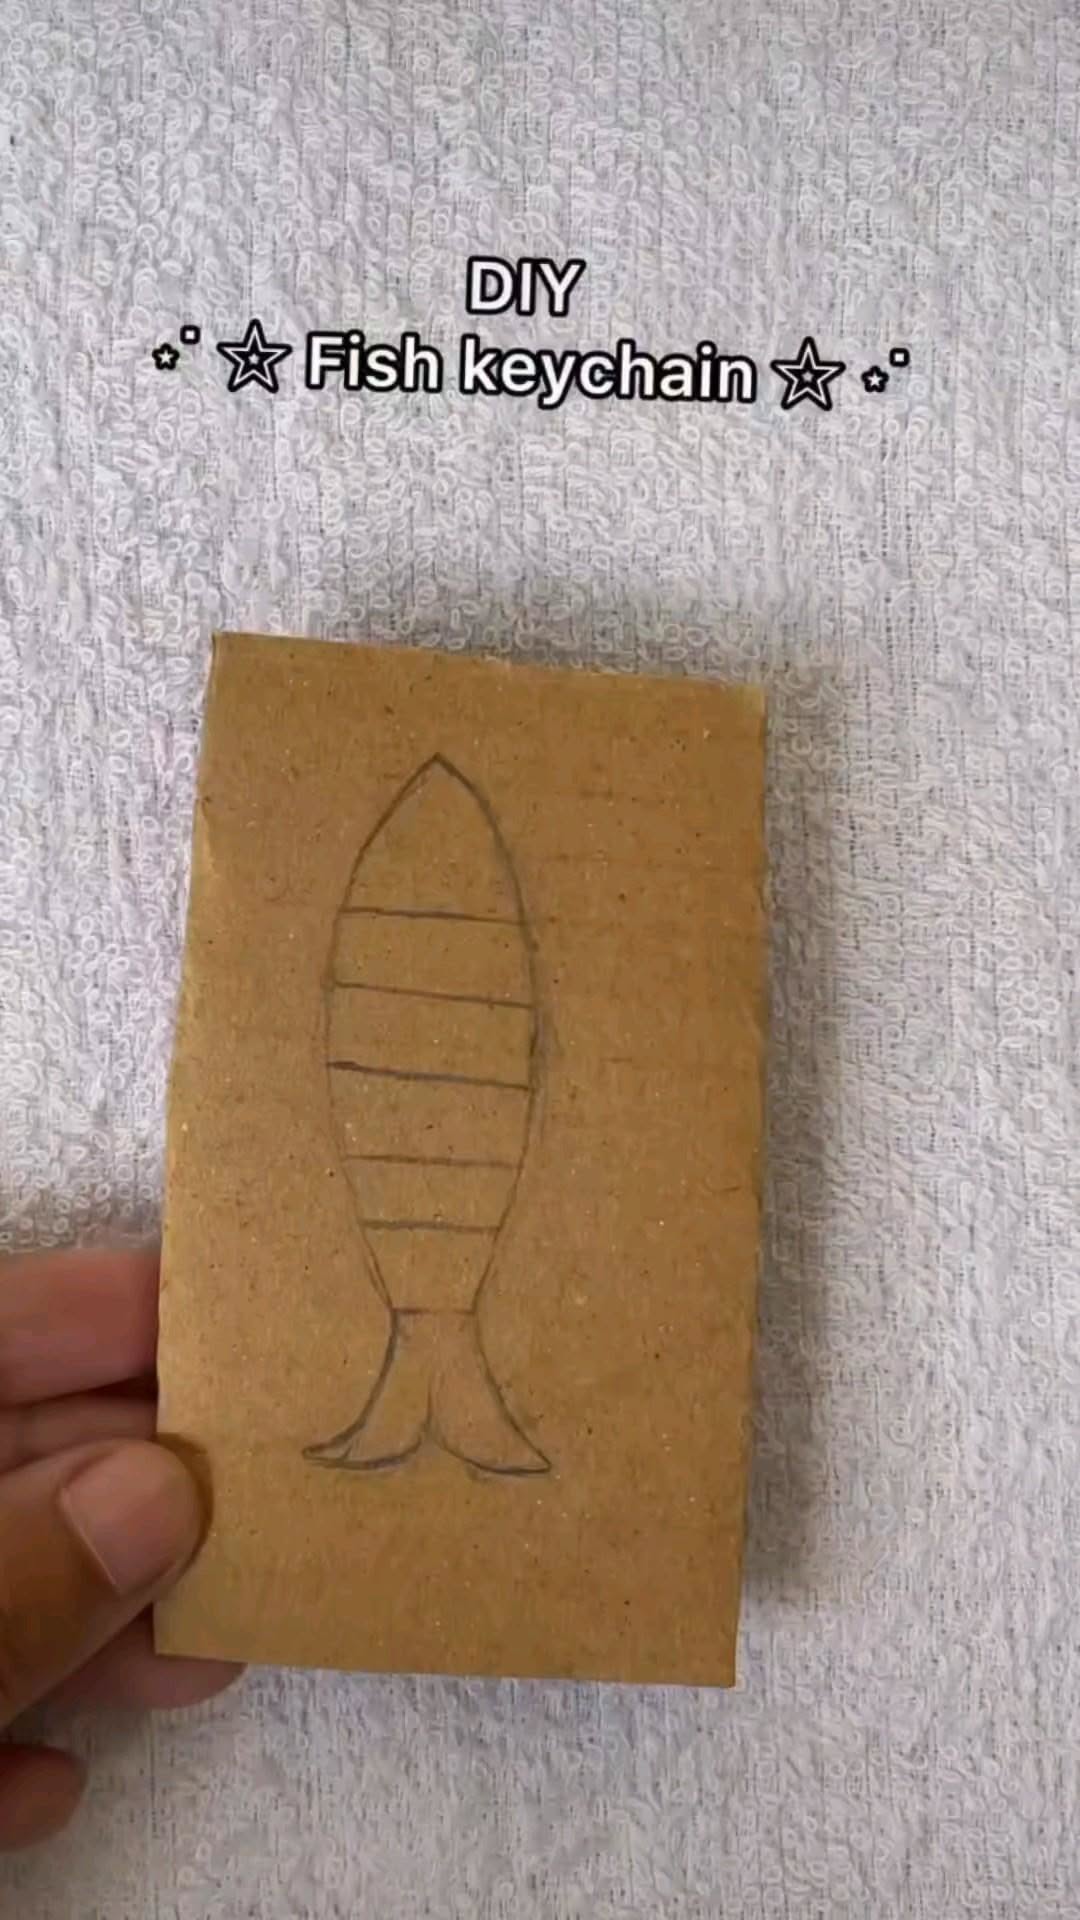
1. Classic Cardboard Fish Keychain : The original five-minute beginner build
What it is: A flat fish silhouette cut from corrugated cardboard, decorated with markers, and hung from a split ring.
Category: Core tutorial
Why it stands out: This is the version the pin promised, and it genuinely takes about five minutes. Draw a fish on the smooth side of the cardboard, cut it out with scissors (a craft knife gives cleaner edges if an adult helps), punch a small hole near the mouth with a pencil tip, and thread a keyring through. Decorating before cutting is easier because the flat sheet does not wobble.
Best for: Absolute beginners, classroom parties, and anyone who wants a finished charm before the glue even dries.
2. Painted Scale Fish Charm : Acrylic paint turns cardboard into something surprisingly polished
What it is: The classic build with a base coat of acrylic paint and overlapping scale shapes added on top.
Category: Painting variation
Why it stands out: Cardboard drinks paint unevenly, so a primer coat of white acrylic first makes the colors pop. Use the rounded end of a pencil eraser to stamp rows of scales in a second color. The result looks far more deliberate than the effort involved, and a thin coat of matte varnish keeps the edges from fraying.
Best for: Crafters who want a gift-worthy finish without buying new supplies.
3. Corrugated Bubble Fish : Let the cardboard texture do the design work
What it is: A fish cut so the corrugated flutes run sideways, creating natural stripes across the body.
Category: Texture technique
Why it stands out: Peeling one face of the cardboard reveals the wavy inner layer, which reads instantly as fish scales or gills. Cut the tail so the flutes fan outward and the shape looks almost three-dimensional. No paint required, though a light wash of color in the recesses adds depth.
Best for: Minimalists and anyone who likes raw, natural materials.
4. Two-Tone Layered Fish : Glue two cutouts together for a chunky, durable charm
What it is: A smaller fish shape glued on top of a larger one in a contrasting color.
Category: Layering technique
Why it stands out: Doubling the cardboard solves the biggest weakness of the classic version, which is that a single layer can bend in a pocket. The offset silhouette also gives the charm a built-in outline that makes the shape readable from across a room.
Best for: Keychains that will actually be used and abused daily.
5. Glow-in-the-Dark Fish Keychain : A charm that keeps working after lights out
What it is: A cardboard fish painted with glow-in-the-dark acrylic, usually in a pale green or blue.
Category: Specialty paint
Why it stands out: Glow paint needs a white or light base coat underneath or it looks muddy in daylight. Charge it under a lamp for a minute and the fish glows softly for a while, which makes it a hit with kids who clip it to a nightstand or backpack. It is a small upgrade with a big reaction.
Best for: Kids’ gifts, sleepover crafts, and party favors.
6. Mini Aquarium Fish Set : Make five tiny fish instead of one big one
What it is: A set of small fish keychains in different colors, often clipped together on one ring.
Category: Multi-piece project
Why it stands out: Cutting several tiny fish from one sheet of cardboard is faster than it sounds, and the set looks intentional when hung together. Vary the tail shapes: forked, rounded, and fan. Each fish takes maybe three minutes once you have a template drawn.
Best for: Party bags, sibling gifts, and craft-fair table displays.
7. Washi Tape Fish : No paint, no mess, all pattern
What it is: Cardboard fish covered edge to edge in patterned washi tape.
Category: No-paint variation
Why it stands out: Washi tape is thin, repositionable, and comes in hundreds of prints, so you can get a polka-dot fish and a striped fish from the same sheet of cardboard. Press the tape over the edge and trim with scissors for a clean outline. It is the fastest way to get a colorful result with zero drying time.
Best for: Young kids, impatient crafters, and anyone crafting on a carpeted floor.
8. Recycled Cereal Box Fish : Thinner board, sharper silhouette
What it is: A fish cut from a cereal or cracker box instead of shipping cardboard.
Category: Upcycled material
Why it stands out: Cereal box board is thinner than corrugated, which means you can cut tighter curves and a more elegant tail. The printed side can be left visible as a design element or painted over. It is also easier for small hands to cut safely.
Best for: Detailed shapes and crafters with limited hand strength.
9. Yarn-Wrapped Fish Charm : Cozy texture in a tiny package
What it is: A cardboard fish wrapped tightly with embroidery floss or thin yarn.
Category: Fiber variation
Why it stands out: Wrapping takes patience but creates a soft, tactile surface that feels handmade in the best way. Work in sections, adding a dot of glue at each color change. Alternating two colors in stripes gives a woven look without any actual weaving.
Best for: Older kids and adults who enjoy slow, repetitive crafts.
10. Sequined Sparkle Fish : Maximum shine for a tiny surface area
What it is: A fish body covered in overlapping sequins or flat-backed rhinestones.
Category: Embellishment
Why it stands out: Start at the tail and work toward the head so each row overlaps the last, the way real scales sit. A single 10mm sequin size keeps the fish from looking cluttered. The finished charm catches light beautifully and photographs well for sharing.
Best for: Statement keychains and photo-friendly craft projects.
11. Movable Tail Fish Keychain : One extra hole turns a flat cutout into a toy
What it is: A two-piece fish where the tail is joined to the body with a brad or a loop of thread.
Category: Mechanical variation
Why it stands out: A single split pin through the tail joint lets the tail swish when the keychain swings. It is the same principle as a paper puppet and adds a surprising amount of play value. Reinforce both pieces with a second layer of cardboard around the pivot point.
Best for: Kids who want a keychain they can fidget with.
12. Bubble-Print Fish : A printing technique that looks like real scales
What it is: A fish decorated by stamping with bubble wrap dipped in paint.
Category: Printing technique
Why it stands out: Bubble wrap pressed onto cardboard leaves a grid of circles that reads exactly like fish scales. Cut a small square of wrap, dip the bubbles in paint, and press. Two or three overlapping colors create depth, and the whole process takes under a minute per fish.
Best for: Toddler-friendly crafting and large batches for parties.
13. Fish Skeleton Cutout : The spooky-cute version for older crafters
What it is: A fish silhouette with the middle cut away to leave a spine and rib lines.
Category: Advanced cutting
Why it stands out: This one needs a craft knife and a steady hand, so it suits teens and adults. Draw the outline first, then sketch the spine and ribs in pencil before cutting. Leaving the head and tail solid keeps the piece structurally sound. The negative space looks striking against a bright backpack.
Best for: Older crafters and anyone who likes slightly edgy designs.
14. Rainbow Gradient Fish : Blend colors for a professional-looking finish
What it is: A fish painted with a smooth color gradient from head to tail.
Category: Painting technique
Why it stands out: Paint three bands of color while the first is still wet and blend the edges with a clean brush. On cardboard, a light sanding before painting stops the surface from grabbing too much pigment. The gradient makes a simple shape look considered and gift-ready.
Best for: Crafters who want to practice blending on a low-stakes surface.
15. Tiny Pocket Fish : A charm small enough to disappear in a coin pocket
What it is: A fish under two centimeters long, cut from thin board and sealed with varnish.
Category: Miniature scale
Why it stands out: Tiny charms are harder to cut but far more charming on a keyring. Use nail scissors for the tight curves and seal the whole piece with clear nail polish, which hardens the cardboard and stops the edges from fuzzing. Make a matching pair and give one away.
Best for: Friendship charms and minimalist keyrings.
16. Fish With a Secret Message : A hidden note inside a two-layer charm
What it is: Two fish cutouts glued back to back with a small written note trapped between them.
Category: Keepsake variation
Why it stands out: Write a name, a date, or a short message on the inner faces before gluing. The note is invisible once sealed, which makes the charm feel personal. Leave a small unglued tab near the tail if you want the option to peek inside later.
Best for: Gifts, long-distance friends, and memory keepsakes.
17. Puffy Sticker Fish : Raised details without any sculpting
What it is: A plain cardboard fish decorated with puffy stickers, foam shapes, and raised dots.
Category: Sticker craft
Why it stands out: Puffy stickers add real dimension to a flat cutout with zero skill required. Foam dots sold for card-making make excellent eyes and bubbles. The result is chunky and playful, and it is the single easiest version for very young children to complete independently.
Best for: Preschoolers and no-mess craft sessions.
18. Metallic Foil Fish : Kitchen foil makes cardboard look like metal
What it is: A fish covered in aluminum foil and smoothed around the edges.
Category: Mixed material
Why it stands out: Wrap the foil around the cutout and burnish it with the back of a spoon, then press gently with a blunt pencil to add scale lines. A coat of clear varnish stops the foil from tearing. It is a striking effect for almost no cost, and it pairs well with a colored tail.
Best for: Older kids and anyone who likes metallic finishes.
19. Fish Keychain Gift Tag : A present topper that becomes a keepsake
What it is: A fish charm tied to a gift with twine, doubling as the name tag.
Category: Gift presentation
Why it stands out: Write the recipient’s name on the fish body and tie it to the ribbon. The tag survives after the wrapping paper is gone, which makes even a small gift feel considered. Batch-make a dozen in an evening and you have tags for the whole year.
Best for: Holiday gifting, birthday presents, and handmade gift swaps.
20. Upcycled Denim Fish : Glue fabric scraps onto a cardboard core
What it is: A cardboard fish base covered with a scrap of denim, canvas, or felt.
Category: Fabric variation
Why it stands out: The cardboard gives the shape structure while the fabric gives it a soft, durable skin. Cut the fabric slightly larger than the fish, glue it over the front, then trim and fold the edges to the back. Denim fraying at the tail actually looks intentional and adds character.
Best for: Using up fabric scraps and making charms that survive real wear.
Bonus Mentions
Keyring Hardware Variety Pack : Split rings, ball chains, and lobster clasps
A mixed pack of keychain hardware lets you switch between a classic split ring, a ball chain for a necklace-style charm, and a lobster clasp for clipping onto a bag strap. Buying a variety pack once covers dozens of projects and costs less than a single specialty charm.
Mod Podge Sealer : The step that makes cardboard last
A thin coat of decoupage medium or matte varnish over a finished fish turns a fragile paper charm into something that survives rain, pockets, and repeated handling. Apply two light coats rather than one thick one, and let each dry fully before adding the keyring.
Fish Template Printables : Skip the freehand drawing
If drawing a fish freehand feels intimidating, printable outlines in several sizes solve the problem instantly. Trace onto cardboard, cut, and decorate. Having a consistent template also makes batch production for a classroom or party far faster.
Beginner Cutting Techniques : Cleaner edges in less time
Short video tutorials on cutting curves and corners with scissors and craft knives make a visible difference in the finished charm. The main takeaway: cut in long, continuous strokes rather than small snips, and rotate the cardboard instead of the scissors.
The Best Little Fish in the Craft Sea
What makes the cardboard fish keychain such a satisfying project is that it asks for nothing you do not already have. A delivery box, a marker, and a spare keyring are enough to produce something genuinely cute, and every variation above is really just a small decision about color, texture, or hardware. Start with the classic build, then pick one upgrade: paint it, wrap it, seal it, or give it a swishing tail. The whole point is that the barrier to starting is close to zero, and the result is something you can actually use.
If you try one of these, the layered two-tone fish and the glow-in-the-dark version are the two that tend to get the most compliments. Which one are you making first, and what material would you swap in to make it your own?